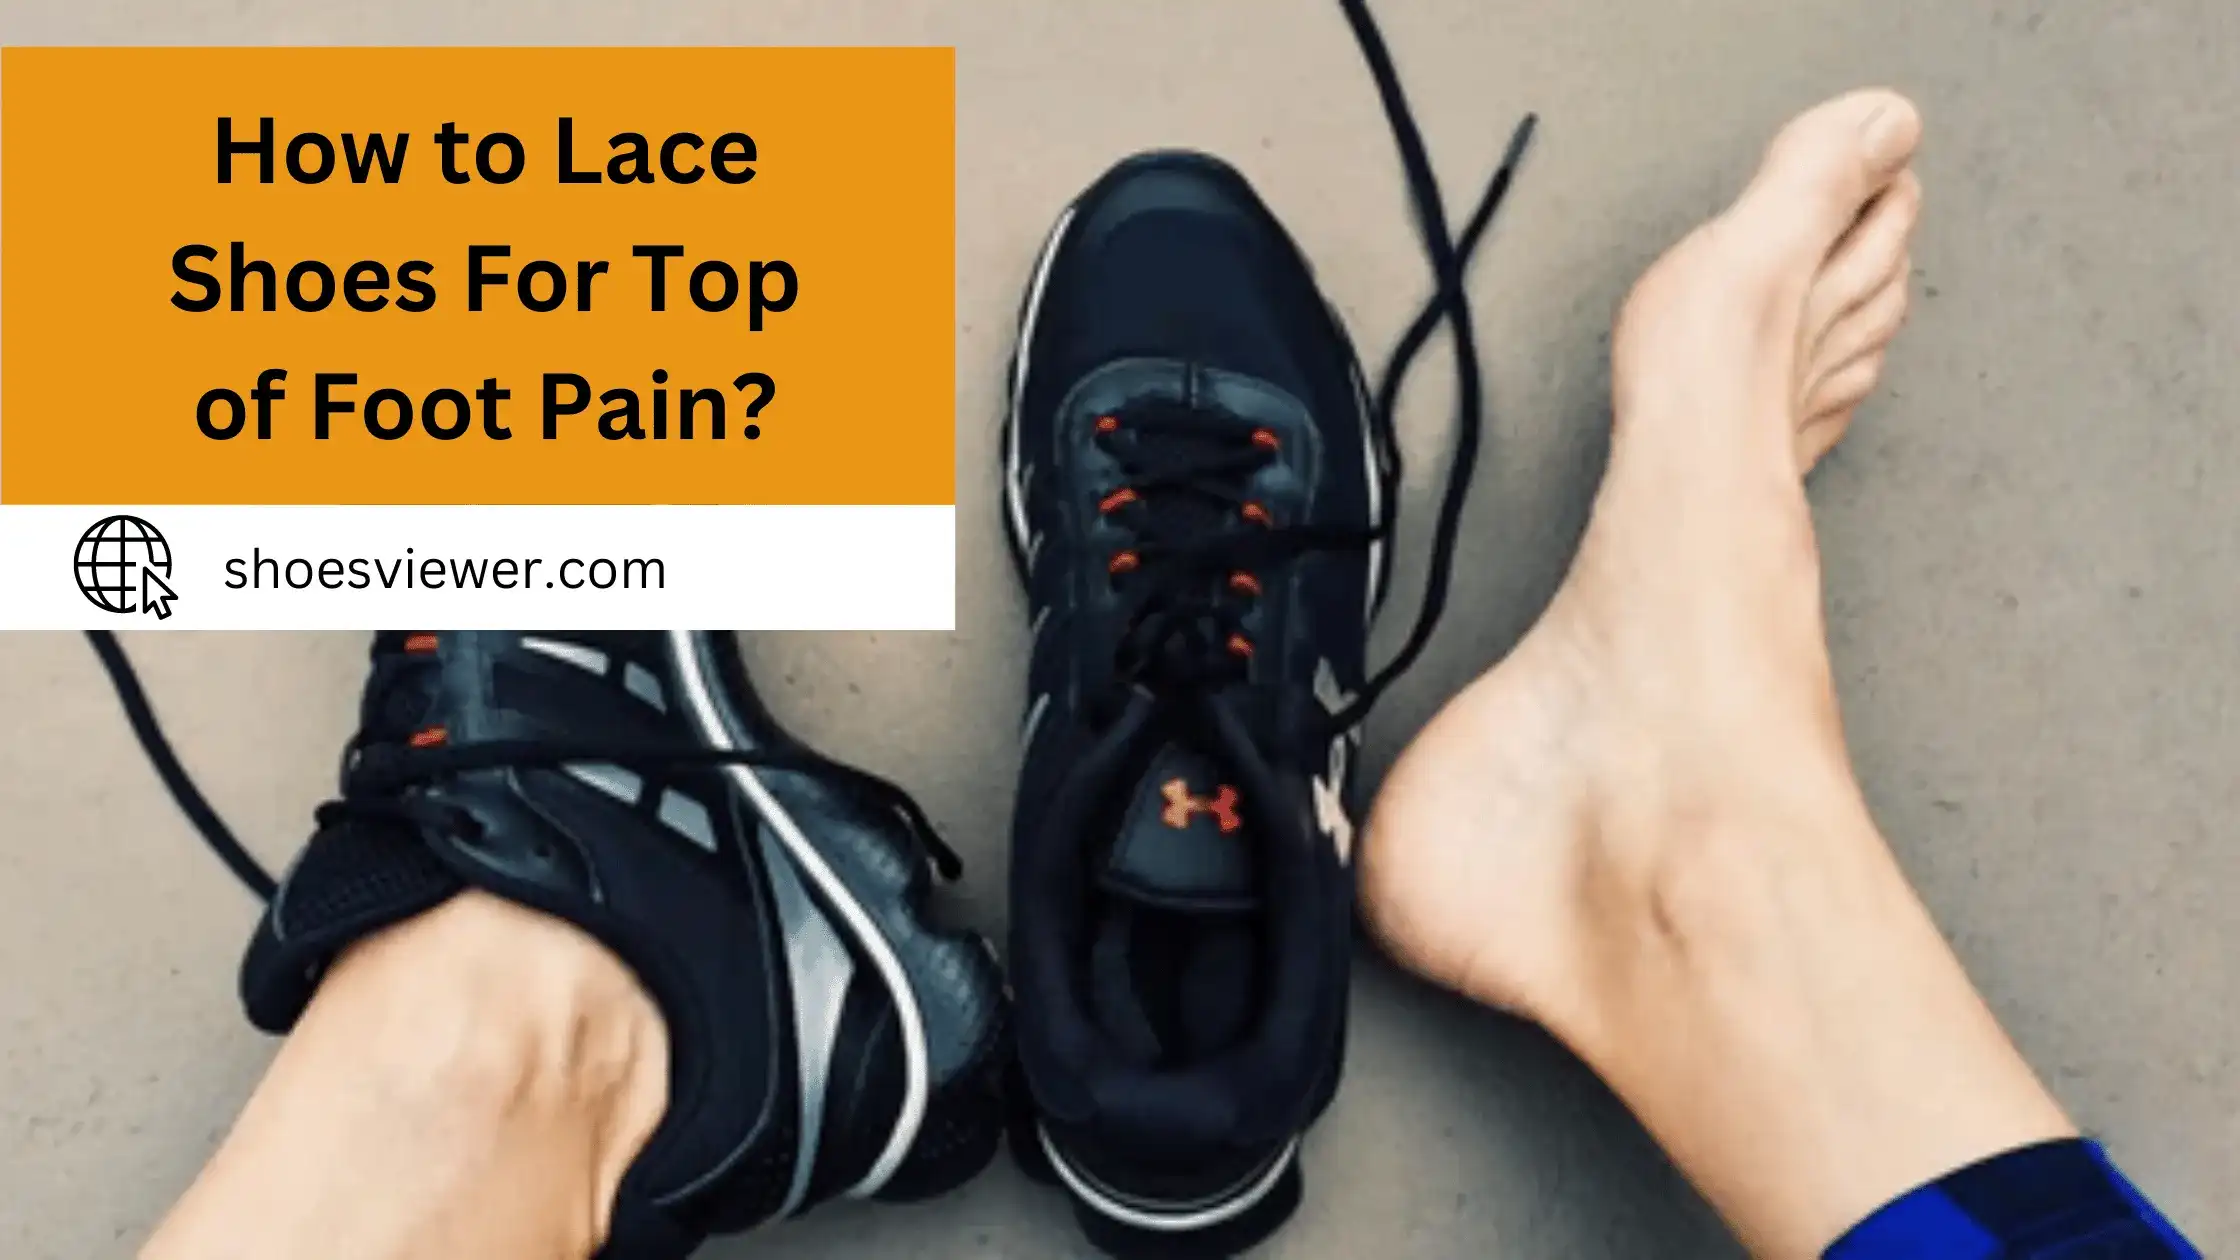
If you experience top-of-foot pain when you lace your shoes, you know how irritating and uncomfortable it can be. It was a challenging experience for me as well. After researching various options, including special insoles and orthotics, none effectively addressed my problem until I discovered how to properly lace shoes for top-of-foot pain relief.
Now, I’m eager to share the knowledge with you so you won’t have to go through the same difficulty as me. I’ll discuss various methods for avoiding top-of-foot pain through shoe-lacing adjustments so you can pick one that works best for you!
Step-by-Step Guide- The Parallel Lacing Technique:
Here’s a step-by-step guide based on my experience:
Start at the Bottom:
I begin by threading the laces straight across the bottom (nearest the toe) and up through the bottom eyelets.
The Parallel Path:
Instead of crisscrossing, I take each lace straight up the shoe to the next eyelet on the same side. This creates parallel lines. For example, if you’ve taken the right lace up on the right side, do the same with the left lace on the left side.
Skip an Eyelet:
If the top-of-foot pain is more pronounced in a particular area, skip an eyelet right above that spot. This reduces pressure. When I did this, I noticed an immediate reduction in discomfort.
Crisscross at the Top:
Once I reach the top, I crisscross the laces to secure the shoe. This ensures the shoe is snug at the ankle, maintaining stability without putting pressure on the painful area.
Tie as Usual:
Finally, I tie my shoes as I usually would. The top part of your shoe should feel more secure, while the middle part, over the painful area, should feel looser and less constrictive.
This technique was a game-changer for me. It’s important to remember that while this lacing method can alleviate pain, addressing the underlying causes of top-of-foot pain, which could range from ill-fitting shoes to more severe foot conditions, is crucial.
Learning the Gap Lacing Method:
Learning the Gap Lacing Method was a revelation for me. As I discovered, this method is particularly beneficial for alleviating pressure and enhancing comfort in those areas. Here’s how I mastered it:
Starting at the Bottom:
Like any standard lacing method, I began by threading the laces straight across the bottom (nearest the toe) and up through the lowest eyelets.
Regular Crisscross Up to the Pressure Point:
I laced the shoes in a standard crisscross pattern until I reached the area where I felt the pressure. For me, it was usually midway up the shoe.
Creating the Gap:
Once I reached the pressure point, instead of continuing with the crisscross, I threaded the laces straight up to the next eyelet on the same side, thus leaving a gap over the sensitive area. This step was crucial as it relieved the direct pressure.
Resuming Crisscross Above the Gap:
After bypassing the sensitive area, I resumed the regular crisscross lacing for the remaining eyelets. This ensured the shoe was snug and secure around the rest of my foot.
Tying Off at the Top:
Finally, I tied my shoes as usual. The result was a more comfortable fit, with reduced pressure on the problematic area.
I remember using this method for the first time while walking around a theme park. This method proved to be a simple yet effective solution to a problem that had bothered me for a while.
The Magic of Loop Lacing Lock Technique:
Discovering the Loop Lacing Lock Technique was like unlocking a secret to better shoe fit, especially for my running shoes. This method is a boon for preventing heel slippage, ensuring a secure fit, and enhancing overall comfort during physical activities. Here’s my experience with it:
Standard Lacing Start:
I began by lacing my shoes the usual way, crossing the laces over each other to the second-to-last eyelet. This part was straightforward and familiar.
Creating the Loops:
The magic starts here. Instead of crossing the laces at the second-to-last eyelets, I threaded each lace end through the last eyelet on the same side, creating a loop. This step initially felt unusual, but the loops are critical to this technique.
Locking the Laces:
After creating the loops, I crossed the laces and threaded each end through the loop on the opposite side. This was the locking mechanism that made all the difference.
Securing the Fit:
I pulled the laces tight, secured the lock, and snugly pulled the shoe around my ankle and heel. The difference in stability was noticeable immediately.
Tying Off as Usual:
I finished by tying the laces in a regular bow. The locked laces maintained a firm grip, keeping my foot stable and preventing sliding.
The Loop Lacing Lock Technique, with its simple yet effective modification, has become my go-to for all my running shoes. It’s a small change that has significantly impacted my running experience.
Mastering the Window Lacing Technique:
Mastering the Window Lacing Technique was a journey of discovery for me, particularly useful for dealing with hot spots or pressure points on the top of my feet caused by tight laces. Here’s how I learned and implemented it:
Starting at the Base:
I began by threading the laces straight across the bottom and up through the first set of eyelets, forming a simple and familiar foundation.
The First Window Creation:
Moving up the shoe, I laced in the standard crisscross pattern until I reached the area where I felt pressure or discomfort. For me, this was typically around the mid-foot area.
Skipping an Eyelet:
Instead of crossing the lace at the pressure points, I brought each lace straight up inside and out through the next higher eyelet, skipping one eyelet. This created a small gap or “window” in the lacing over the sensitive area.
Resuming Normal Lacing:
Above this gap, I continued with the regular crisscross pattern. This ensured the shoe remained snug and supportive in other areas, maintaining overall fit and stability.
Final Touch and Tie:
After reaching the top, I tied the laces as usual. The result was a pair of comfortable shoes with reduced pressure on the problem spot.
Additional Tips for Reducing Top-of-Foot Pain:
I’ve learned that managing it goes beyond just adjusting your shoelaces. Through trial and error, I’ve gathered a few additional tips that have significantly helped in reducing this discomfort:
Choosing the Right Footwear:
My first lesson was on selecting shoes with a proper fit. I once bought a pair of running shoes based solely on style, only to realize they were too narrow, exacerbating my top-of-foot pain. Now, I prioritize shoes that offer enough room, especially in the toe box, and provide adequate support.
Use of Orthotic Inserts:
I discovered that sometimes the insoles with shoes don’t provide the support I need. After experiencing persistent pain, I switched to custom orthotic inserts recommended by a podiatrist. These provided better arch support and helped distribute pressure more evenly across my foot, significantly reducing the pain.
Regular Foot Stretches and Exercises:
Incorporating foot stretches and exercises into my routine made a big difference. I started doing exercises like toe curls and marble pickups, strengthening my foot muscles, improving overall foot health, and lessening the pain.
Applying Ice and Rest:
After a harrowing day, I found relief by applying ice to the sore area and giving my feet adequate rest. This simple remedy helped reduce inflammation and provided much-needed respite from the pain.
Elevating the Feet:
Elevating my feet at the end of the day, especially after long standing or walking, became a regular practice. This helped in reducing swelling and discomfort in the feet.
Through these additional measures and proper lacing techniques, I’ve managed and significantly reduced the top-of-foot pain I used to experience regularly.
Conclusion:
Learning to lace your shoes properly can be essential to treating and managing top-of-foot pain. Different lacing methods can reduce tension, increase breathability, and even provide additional support in the areas of your foot experiencing pain. As someone who has experienced top-of-foot pain in the past, I know firsthand how difficult it can be to alleviate it without making changes like this.